HTML <button> Tag
Buttons allow users to submit data from a form, clear the contents of a form, or take other actions. To make a clickable button, use the HTML <button> tag inside a form or anywhere on the page.
If you use the <button> tag in an HTML form, different browsers may submit different values. You may use <input> or <div> elements to create buttons in an HTML form.
The button normally has the type attribute that can have one of these values:
- type="submit": the button submits the form data to the server. It’s the default value if the attribute is not specified
- type="reset": the button resets everything to initial values
- type="button": it’s useful if your button is not to submit form data to a server. If you don’t include this attribute, the button will try to submit data and to load the nonexistent response, possibly destroying the current state of the document
Examples:
<button type="submit">Submit</button>
<button type="reset">Reset</button>
<button type="button">Button</button>
Always specify the type attribute for a <button> element. First, different browsers might use different default types for the <button> element. Second, the JavaScript onclick event wouldn’t work inside the <form> tag unless you add the type attribute (e.g. type="button")!
Buttons Styling
You can change the appearance of the button using CSS: create borders, change the background, align text inside the button, add an image, CSS button hover effects, and more.
You should reset the default styles by applying the rules below. Don’t forget the cursor: pointer; property.
button {
  user-select: none;
  outline: none;
  border: none;
  cursor: pointer;
}
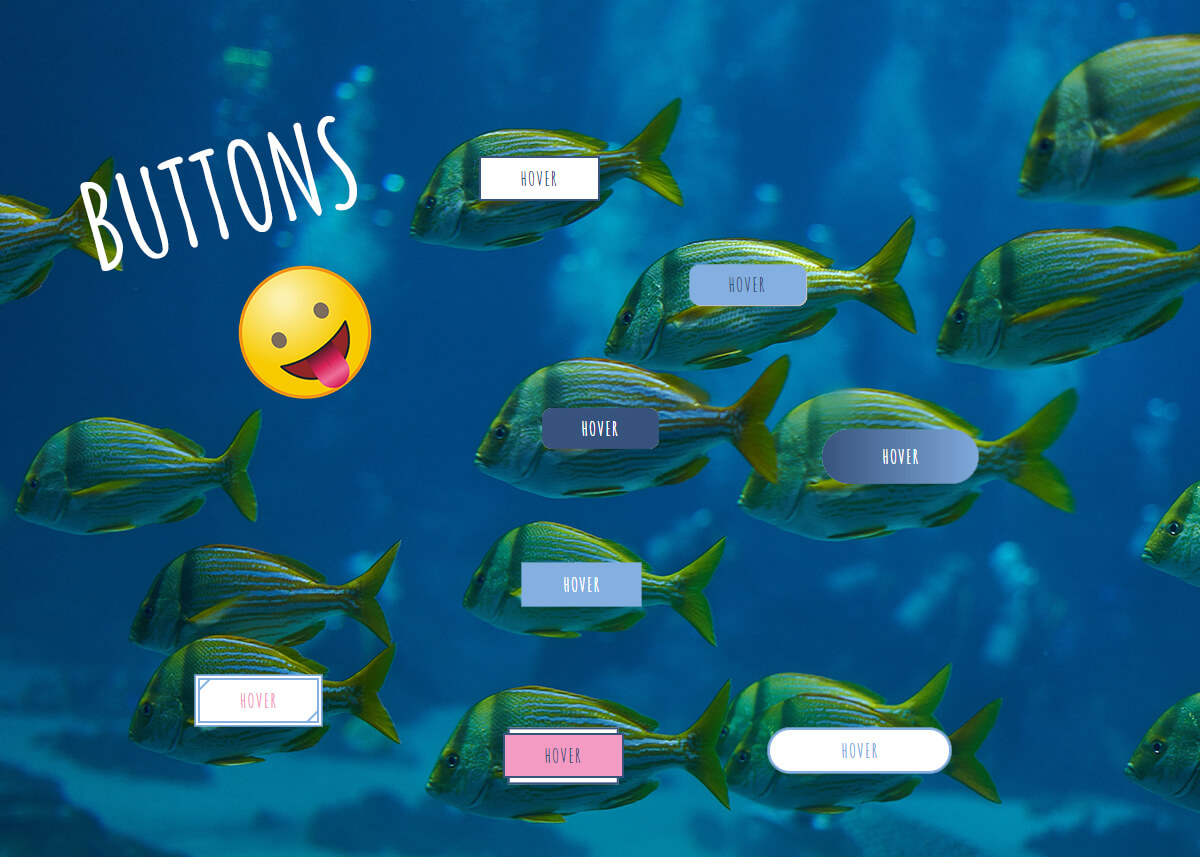
And here is a collection of buttons with different styles:
Scroll Back to Top Button
You can make a to-the-top button which leads to the top of the page, appears and disappears on scrolling.
Below is a markup with the button (.to-top). Other elements are not very important. The page should be longer than the viewport height. Otherwise, you won’t see the result.
<body>
  <div class="wrapper">
    <h1>Title</h1>
    <p></p>
    …
    <p></p>
  </div>
  <button class="to-top">To the top</button>
</body>
<footer>
  <p></p>
</footer>
The most important CSS rules include display: none; to hide the button (it will appear with the help of jQuery) and position: fixed; to fix the button on the page. Also, add right / left and top / bottom coordinates to mark the position.
.to-top {
  display: none;
  position: fixed;

  right: 200px;
  bottom: 80px;
}
You can also apply other button styles as well as make an icon button by choosing an image as a background.
And finally comes the jQuery code. Below are three ways to make the button appear and disappear in the right places.
1. To make the button appear when an element scrolls into view and disappear after reaching another element on the page:
$(window).scroll(function() {
    // Set the element making the button appear (h1)
    var startHeight = $('h1').offset().top - window.innerHeight,

        // Set the element making the button disappear (footer)
        finishHeight = $('footer').offset().top - window.innerHeight,
        currentScroll = $(this).scrollTop(),
        $button = $('.to-top');

    // Make the button fade in and fade out
    if (currentScroll > startHeight && currentScroll < finishHeight) {
        $button.fadeIn();
    } else {
        $button.fadeOut();
    }
});

$('.to-top').on('click', function() {
    $('html, body').animate({ scrollTop: 0 }, 1000);
});
2. To make the button appear after scrolling past the first screen:
$(window).scroll(function() {
    var windowHeight = $(this).height(),
        currentScroll = $(this).scrollTop(),
        button = $('.to-top');

     if (currentScroll > windowHeight) {
         button.fadeIn();
     } else {
         button.fadeOut();
     }
});

$('.to-top').on('click', function() {
    $('html, body').animate({ scrollTop: 0 }, 1000);
});
3. To make the button appear after scrolling down 300px from the top of the page:
var btnUp = $('.to-top'); // this is your button

function scrollBtn() {
    var top = $(this).scrollTop();
    if (top > 300) { // you can change "300" to any other value
        btnUp.fadeIn(500);
    } else {
        btnUp.fadeOut(500);
    }
}

scrollBtn();

$(document).on('scroll', scrollBtn);

btnUp.on('click', function() {
    $('html, body').animate({
        scrollTop: 0
    }, 400);
});
How to Add/Remove Classes with Buttons
If you want to add, remove, or toggle classes when the user clicks on the button or buttons, you can do this with the help of JavaScript’s onclick event.
In the first example, we toggle two classes (.outset and .active) when the user clicks on one of the two buttons. Each of the two buttons has a separate clicking event. In other words, when the user clicks on the button, it triggers the change of its classes, while the other button has its classes unchanged.
<button class="btn switch-btn outset" type="button" id="btn-remember">Remember Me</button>
<button class="btn switch-btn outset" type="button" id="btn-night">Night Theme</button>
Remember to include the type="button" attribute inside the <button> tag. The onclick event wouldn’t work otherwise.
function buttonClicked() {
  this.classList.toggle('outset');
  this.classList.toggle('active');
}

document.querySelectorAll('.switch-btn').forEach(button => {
  button.onclick = buttonClicked;
});
In the second example, we remove the .active class first from all buttons and then we add this class to the one that is clicked.
function buttonClicked() {
  document.querySelectorAll('.switch-btn').forEach(button => {
    button.classList.remove('active');
  });
  this.classList.add('active');
}

document.querySelectorAll('.switch-btn').forEach(button => {
  button.onclick = buttonClicked;
});
→ You can also read the article about HTML forms.
